
NON-DESTRUCTIVE QUALITY TESTS
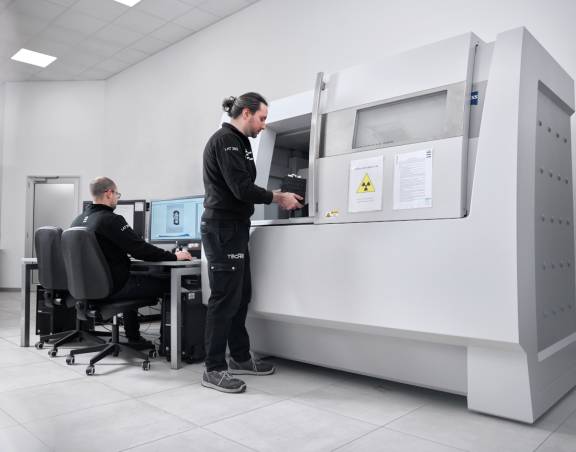
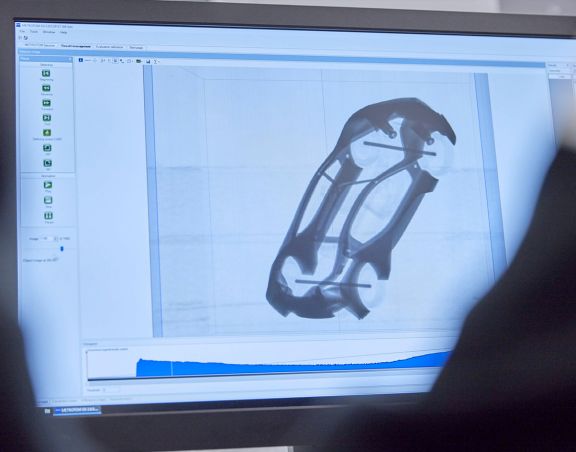
We are one of the few service companies in Italy to be equipped with a state-of-the-art machine for non-destructive quality checks: the ZEISS Metrotom CT.
This technology allows us to carry out complete checks on plastic or light metal parts, avoiding the breakage of the traditional process of layer-by-layer-destruction.
This technology allows us to carry out complete checks on plastic or light metal parts, avoiding the breakage of the traditional process of layer-by-layer-destruction.
FLAWS ANALYSIS
- Structural analysis: provides important details on product structure;
- Mixed fibre structure analysis: shows the 3D distribution and orientation of various elements within a composite material;
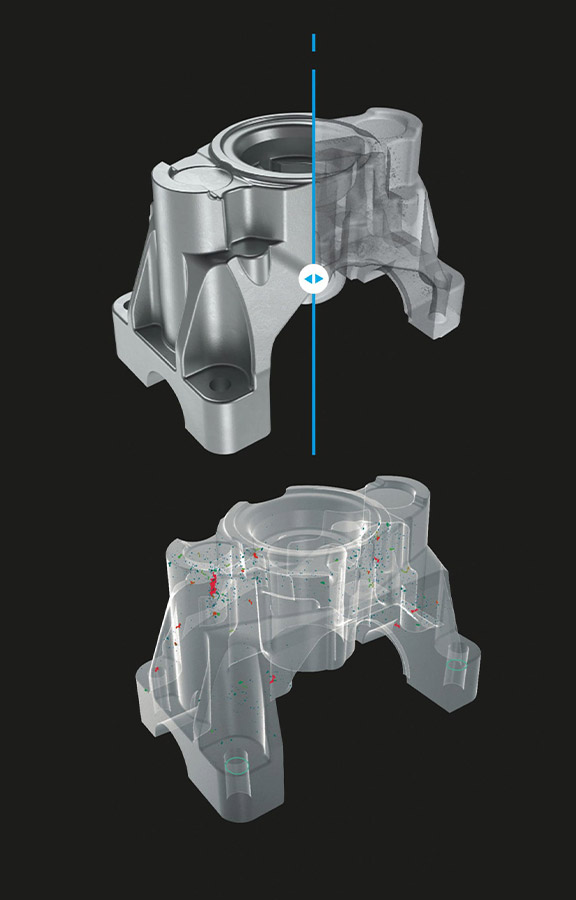
- Defect analysis: highlights surface or internal defects of parts in different materials, such as: blowholes, cold spots, qualitative and quantitative analysis of internal porosities and their distribution within the part;
- Assembly control: checks the function and precision of the coupling of assembled parts;
- Joint technology control: verifies that welded, brazed, glued or riveted joints are truly perfect;
- Detailed analysis of individual component couplings in the case of assembled parts;


